NIREVONCARDS · HELP CENTER
Getting started with NirevonCards
Practical instructions for saving loyalty cards, finding them near stores and managing your account.
1. Add a loyalty card
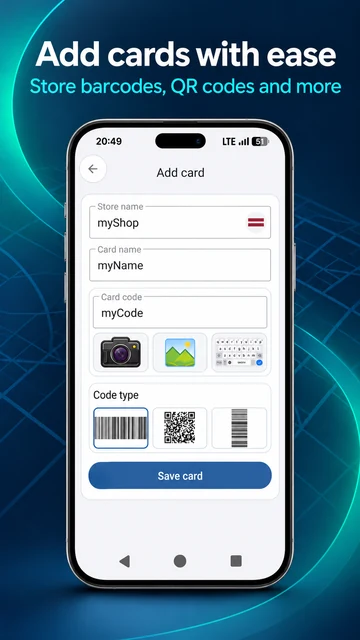
- Open the card list and choose to add a card.
- Select a country, then the store or loyalty program.
- Scan the barcode or QR code, or enter the number manually where available.
- Save the card. Open it from the list to display its code at checkout.
You can store up to 50 cards. The app prevents adding a second card for the same store.
2. Nearby search with and without SPS
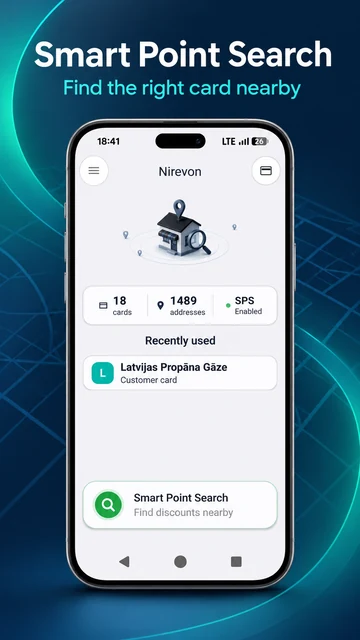
- Nearby search works with Smart Point Search (SPS) on or off. Allow the app to access your location for either mode.
- SPS on: the app uses a database of store GEO markers prepared from OpenStreetMap (OSM) data and your own GEO markers. It matches nearby suitable stores to your saved loyalty cards.
- SPS off: nearby search continues using only the GEO markers you added to your cards. The prepared OSM-based database is not used. Without your own markers, it cannot find matching stores.
- Choose a matching saved card and show its barcode or QR code. Your saved cards remain available manually, including when you have no GEO markers of your own.
You choose the expanded store database or only your own markers. Search matches saved loyalty cards; results depend on location accuracy and available GEO markers. It does not guarantee discounts.
3. Your own GEO markers
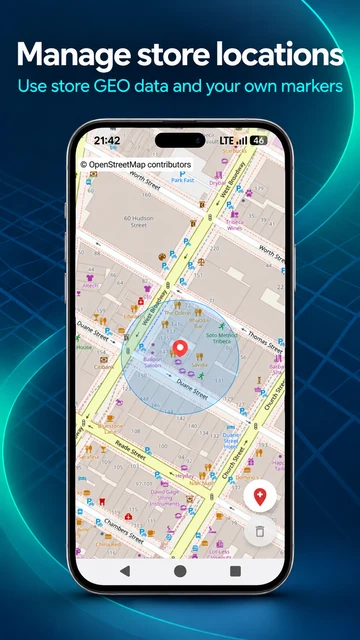
You can associate a saved card with your own shop locations using the card’s map editor, when editing is available.
Choose a point on the map, save the changes and check the location. Your own GEO markers are used in both modes and are the only source for nearby matching with saved cards when SPS is off.
If private GPS mode blocks editing, the app may temporarily disable the map controls. Do not assume that missing public GEO data means your card was deleted.
4. Back up and restore your cards
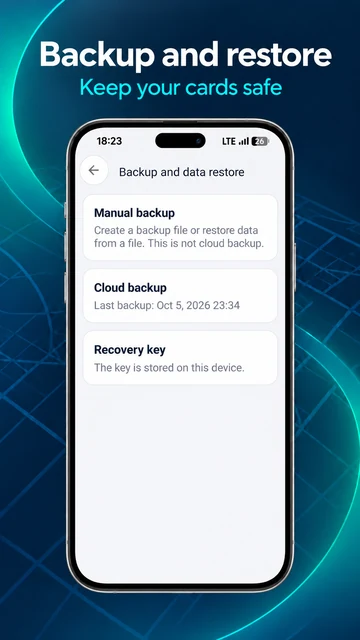
- Open Settings → Backup & Restore to see the available copy and restore options.
- For cloud functions, sign in to the Google account linked to NirevonCards.
- Create a backup before replacing your device or deleting local app data.
- Follow the restore steps and keep your Recovery Key safe if the app asks you to create or use one.
Do not share your Recovery Key, passwords, access tokens or full card codes with support. A backup does not change a pending account-deletion request.
5. If GPS cannot determine your location
- Check that Location is enabled in Android and NirevonCards has location permission.
- If available, allow precise location rather than approximate location.
- Try outdoors or near a window. Indoors, the location fix can be slow or inaccurate.
- Temporarily turn off Android Battery Saver for a test: it can limit location updates.
Nearby search requires location permission in both modes. With SPS off, it continues using only your own GEO markers.
6. Request account deletion
In the app: Settings → Account → Delete account. Follow the confirmation and Google reauthentication steps.
The deletion is scheduled seven days after confirmation. You can cancel the request before the scheduled deadline through the account section.
The request removes the NirevonCards cloud account and associated cloud data when processing completes. It does not delete your Google account or remotely wipe an offline device.
Read the full deletion instructions and check web availability →
Still need help?
When contacting support, include the app version, Android version, device model and a brief description of the problem. Never send secret keys or card codes.
The available menu labels may vary slightly by app version. This guide is not a substitute for the Privacy Policy or Terms of Use.